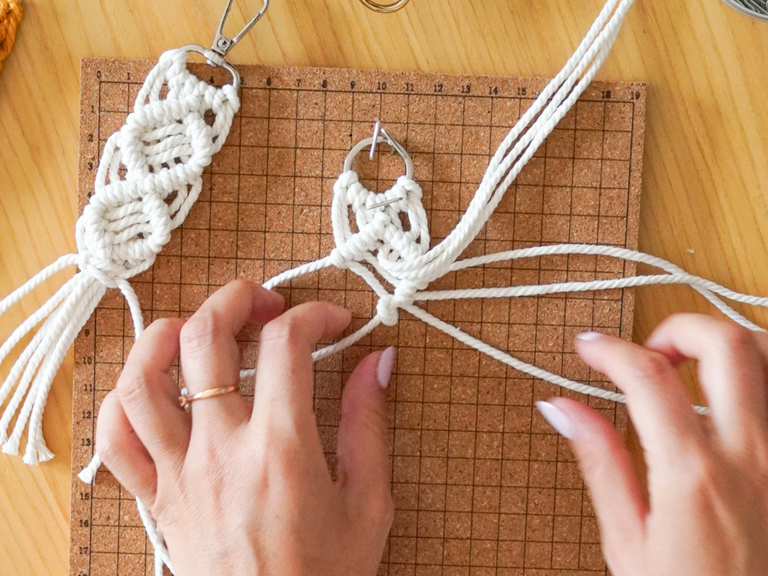
Macramé is one of the most beginner-friendly crafts you can try. All you need is some cord and your hands to start tying knots that transform into beautiful handmade pieces.
With just a few basic techniques, you can create everything from wall hangings and plant hangers to smaller projects like keychains and jewelry.
In this blog post we will go through the basic macramé knots every beginner should learn.
What Are the Basic Macramé Knots?
The six basic macramé knots every beginner should learn are:
- Lark’s Head Knot – used to attach cords to a dowel or ring
- Reverse Lark’s Head Knot – a variation for a flatter look
- Square Knot – a sturdy knot for building patterns
- Half Square Knot – repeated to form a spiral design
- Double Half Hitch Knot – creates lines and geometric patterns
- Wrap Knot (Gathering Knot) – finishes projects neatly
These knots form the foundation of most macramé projects, from plant hangers to wall hangings.
In this guide, we’ll walk you through each knot with step-by-step instructions and illustrations so you can start practicing today.
Lark’s Head Knot
The Lark’s Head Knot is the go-to knot for attaching your cords to a dowel, ring, or other base. It’s the very first step in most macramé projects.

Use the step-by-step illustration above to practice the Lark’s Head Knot.
How to Tie the Lark’s Head Knot
- Fold your cord in half and place the loop over your dowel.
- Pull the cord ends through the loop.
- Tighten until it sits neatly against the dowel.
Tip: Use this knot when starting a wall hanging or plant hanger for a clean and simple attachment.
Reverse Lark’s Head Knot
The Reverse Lark’s Head Knot is a variation that creates a flatter, smoother front side. It’s perfect if you want a uniform look.

Have a look at the diagram above and follow each step to create the Reverse Lark’s Head Knot.
How to Tie the Reverse Lark’s Head Knot
- Fold your cord in half and bring the loop under the dowel.
- Pull the ends over the dowel and through the loop.
- Tighten firmly.
Square Knot
The Square Knot is one of the most versatile and important knots in macramé. It’s sturdy and works well for building larger patterns.

Check the illustration above to tie your Square Knot.
How to Tie the Square Knot
- Use four cords – two working cords on the outside, two filler cords in the middle.
- Cross the left cord over the middle cords and under the right cord. Then, pull the right cord behind the filler cords and through the loop on the left.
- Tighten the cords.
- Repeat the same motion from the opposite side to complete the square.
Tip: For a looser, more decorative look, leave a little space between each knot.
Want to practice the square knot in a beginner project? Try this market tote pattern ➜
Half Square Knot
The Half Square Knot is simply one side of the Square Knot. Repeating this knot in the same direction creates a beautiful spiral effect – great for plant hangers or decorative ropes.

Follow along with the visual guide above to learn the Half Square Knot.
How to Tie the Half Square Knot
- Cross the left cord over the filler cords and under the right cord.
- Bring the right cord behind the middle cords and through the loop on the left.
- Pull both cords to tighten.
Tip! Repeat in the same direction to form a spiral design.

Example of the spiral effect created with repeated Half Square Knots, as seen in the Artisan Wall Hanging pattern. The twisted cords add texture and movement, making the design stand out beautifully.
Double Half Hitch Knot
The Double Half Hitch Knot lets you create horizontal, vertical, and diagonal lines in your designs. It’s a must-learn if you love geometric patterns.

See the step-by-step instructions in the image above to complete the Double Half Hitch Knot.
How to Tie the Double Half Hitch Knot
- Choose one cord to act as the filler cord (this will stay straight and guide the direction of your row).
- Take the working cord and bring it over and around the filler cord, pulling it through to make a half hitch.
- Repeat the same step again with the working cord to complete the Double Half Hitch Knot.
- Tighten the knot against the filler cord.
Tip: If you tie two half hitches per knot, it will make your design more secure.
Wrap Knot (Gathering Knot)
The Wrap Knot, also called the Gathering Knot, is often used to finish projects neatly, especially at the bottom of plant hangers.

Have a look at the diagram above and follow each step to create the Wrap Knot.
How to Tie the Wrap Knot
- Place a short cord alongside your bundle of cords.
- Use another cord to wrap tightly around the bundle several times.
- Tuck the end through the loop and pull to secure.
Tip: This knot works best when you want a clean, professional finish.

The Wrap Knot is perfect for securing the bottom of projects, like in this Harvest Fruit Net pattern. It holds the cords neatly together while adding a polished finish.
Shop macramé accessories and tools ➜
FAQs About Macramé Knots
What is the easiest macramé knot for beginners?
The Lark’s Head Knot is the easiest to learn. It’s simple, quick, and the starting point for most macramé projects.
What cord is best for macramé knots?
For beginners, cotton macramé cord is the best choice because it’s soft, easy to knot, and holds shape well. Explore Hobbii’s macramé cords for different thicknesses and colors.
How many basic knots are there in macramé?
There are around six to eight foundational knots in macramé, but once you learn the six in this guide, you’ll have enough to start most projects.
Wrapping Up
Learning these six macramé knots will give you the foundation for almost any project. From simple plant hangers to intricate wall hangings, these knots open the door to endless creativity.
Ready to try your first project? Explore our macramé yarns and cords and discover beginner-friendly macramé patterns right here.
